

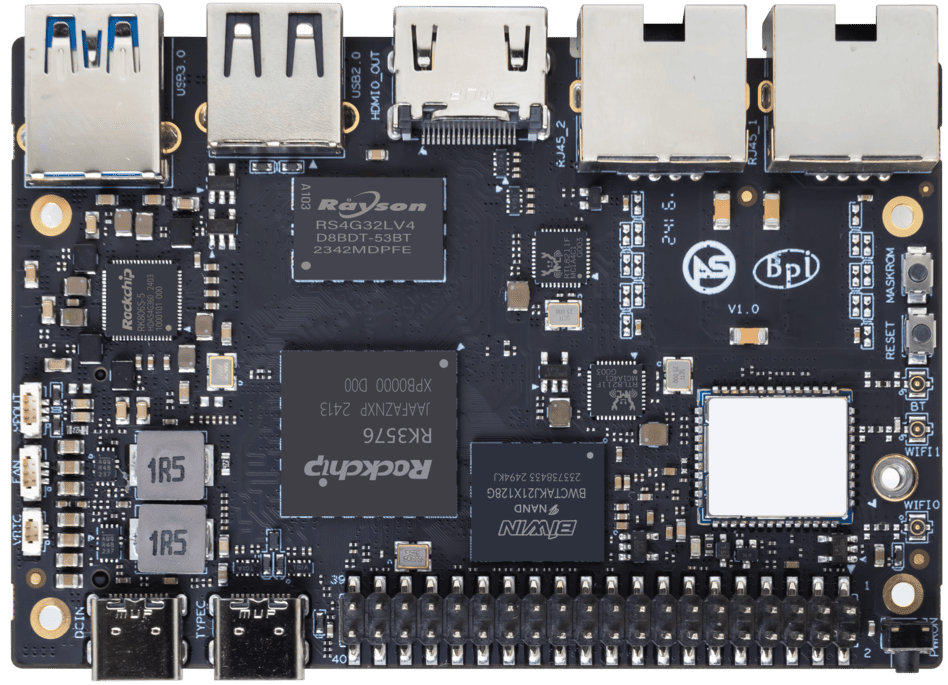
ArmSoM Sige5 product photograph.
An RK3576 development board should help you answer the next engineering question in your project. If you need to evaluate Linux software and connect standard peripherals, a complete SBC is a direct starting point. If your final product needs its own PCB, a compute module and carrier kit can expose integration requirements earlier.
ArmSoM offers both routes: Sige5 as an SBC and CM5 as a compute module used with a suitable carrier. They share a processor family, but the development experience and the path into a product are different.
Choose Sige5 for a complete-board evaluation
With Sige5, the board layout and its external connectors are already defined. That makes it useful for proving an application, evaluating media or AI software, and discovering memory, storage and thermal requirements.
Read the current Sige5 hardware documentation before selecting accessories. Check the actual camera and display connectors, network ports, storage connection and power requirements. A peripheral with the right plug may still need a supported driver or device-tree setting.
This route is especially convenient when the final device may use the SBC unchanged. Test mounting, cable access and cooling in an early enclosure mock-up so mechanical surprises do not arrive after software development.
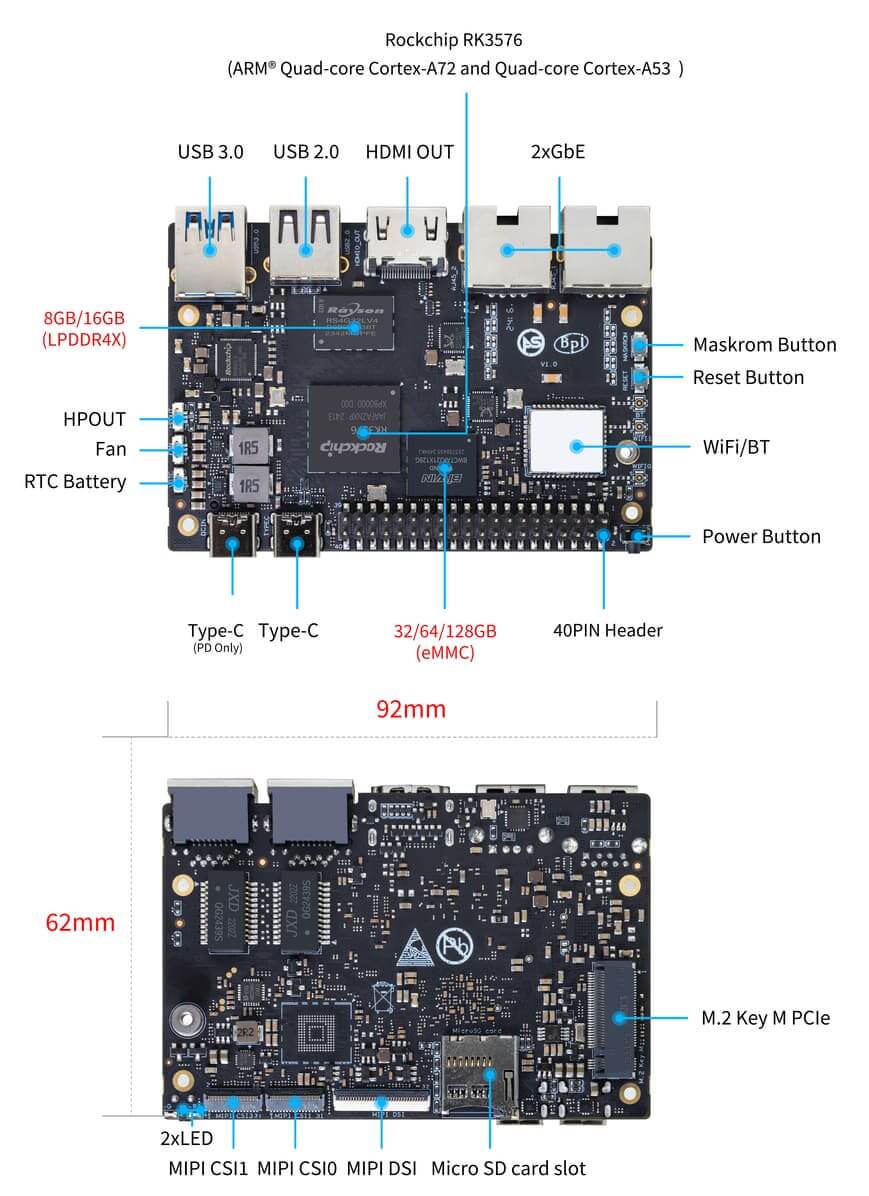
Sige5 front and rear interface reference. Check the documentation for your board revision when identifying connectors. Image: ArmSoM.
Choose CM5 plus a carrier for integration work
A CM5 kit separates compute-module selection from carrier design. It lets your team learn the module's boot and software behavior while planning a carrier with product-specific connections.
Keep module and carrier specifications separate. The module's available signals are not identical to the connectors fitted to a particular IO board. Power input to the carrier may also differ from the module supply. Use the documentation for both assemblies and record their revisions together.
If you plan to reuse another carrier, review it explicitly. The fact that CM5 is positioned for CM4-style applications does not establish every camera, display or control signal on an arbitrary carrier. An early schematic review is cheaper than debugging a mismatched power or pin assignment.
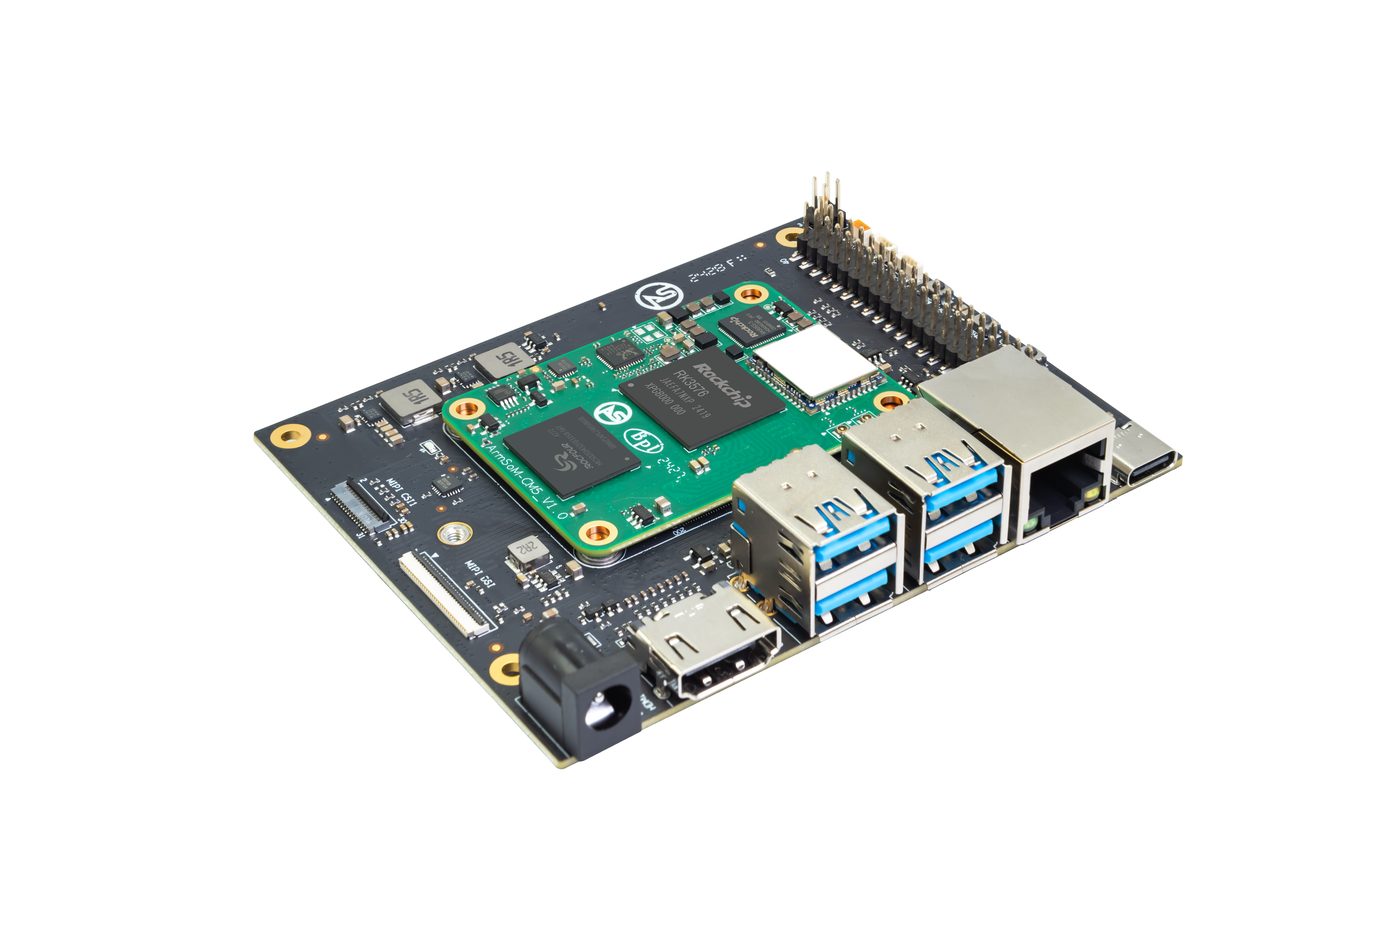
ArmSoM CM5 mounted on a CM5-IO carrier board. This is a board reference photo, not an IMX219 camera installation.
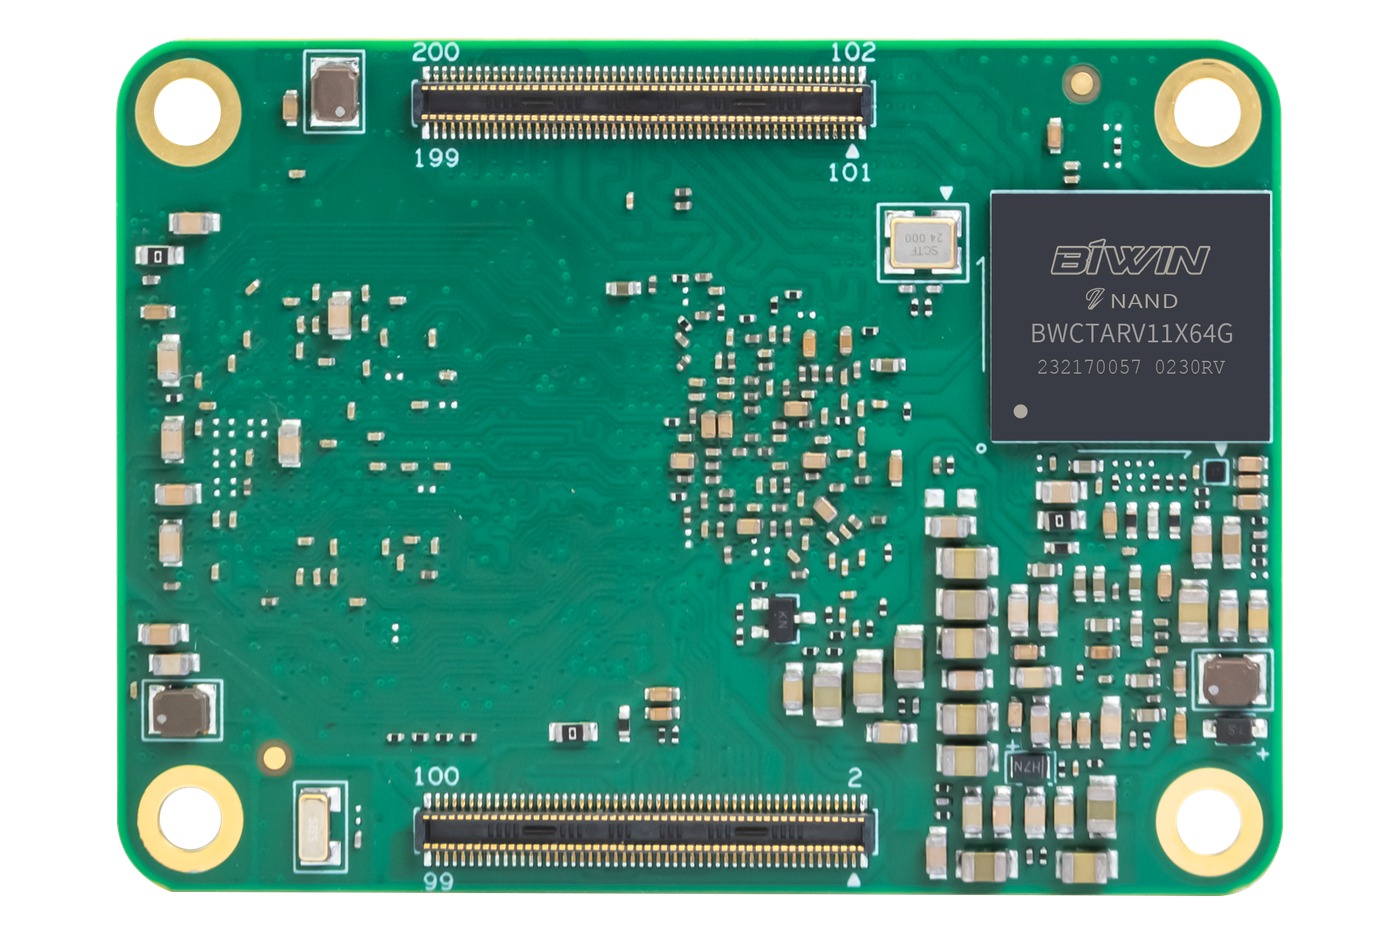
The underside of CM5 shows the board-to-board connectors used with a compatible carrier. Image: ArmSoM.
Prepare a useful evaluation kit
Include the power supply recommended for the selected board, appropriate cooling, a known-good boot medium and a serial-debug connection. Add the exact camera, display and storage devices intended for the product whenever possible.
Start from a documented system image. Save its download source and checksum, then record the board revision and boot log. Make a small inventory of everything connected to the board. Those records turn an isolated demonstration into a result another engineer can reproduce.
Use the first evaluation to remove uncertainty
Evaluation stage | Question to resolve |
Boot and access | Can the team flash, log in and recover the board reliably? |
Critical peripheral | Does the required camera, display or expansion device work? |
Application baseline | Does the real workload produce correct results? |
Combined operation | Do processing, storage and networking work together? |
Product fit | Can the system meet enclosure, power and maintenance requirements? |
For AI, start with a known supported example before introducing a custom model. For a display product, test touch and brightness control as well as pixels. For a gateway, include reconnect and restart behavior rather than only checking whether packets pass once.
Decide with evidence from the final use case
Choose Sige5 if the complete board gives you the interfaces and mechanical layout you need. Choose the CM5 route if a carrier is part of the product plan and you want the evaluation to inform that carrier's design.
Neither route removes the need to validate the final image and peripheral combination. Keep the evaluation results, unresolved items and proposed configuration in one short document, then use it to request the right hardware and support from ArmSoM.