
An HDMI display and a USB keyboard can give you a direct route into Linux before the network is configured. ArmSoM's Server image demonstration shows boot output on a connected screen, followed by a local tty1 login and an interactive command-line session.
This is useful when starting a board for the first time, checking a new image or configuring a device on site. You can see whether the system reaches the login stage and begin working locally without first finding its IP address or establishing an SSH connection.
Watch the local terminal demonstration
Watch the demonstration with English on-screen captions.
Follow the boot process on screen
The demonstration shows system messages appearing through HDMI as Linux starts, before the board reaches its local console. For image validation and first-boot troubleshooting, this makes the system's progress directly visible.
Once the login prompt appears, a connected USB keyboard provides the local input. Log in with the credentials documented for your board and image, then use the shell to inspect network settings, read logs or change the configuration.
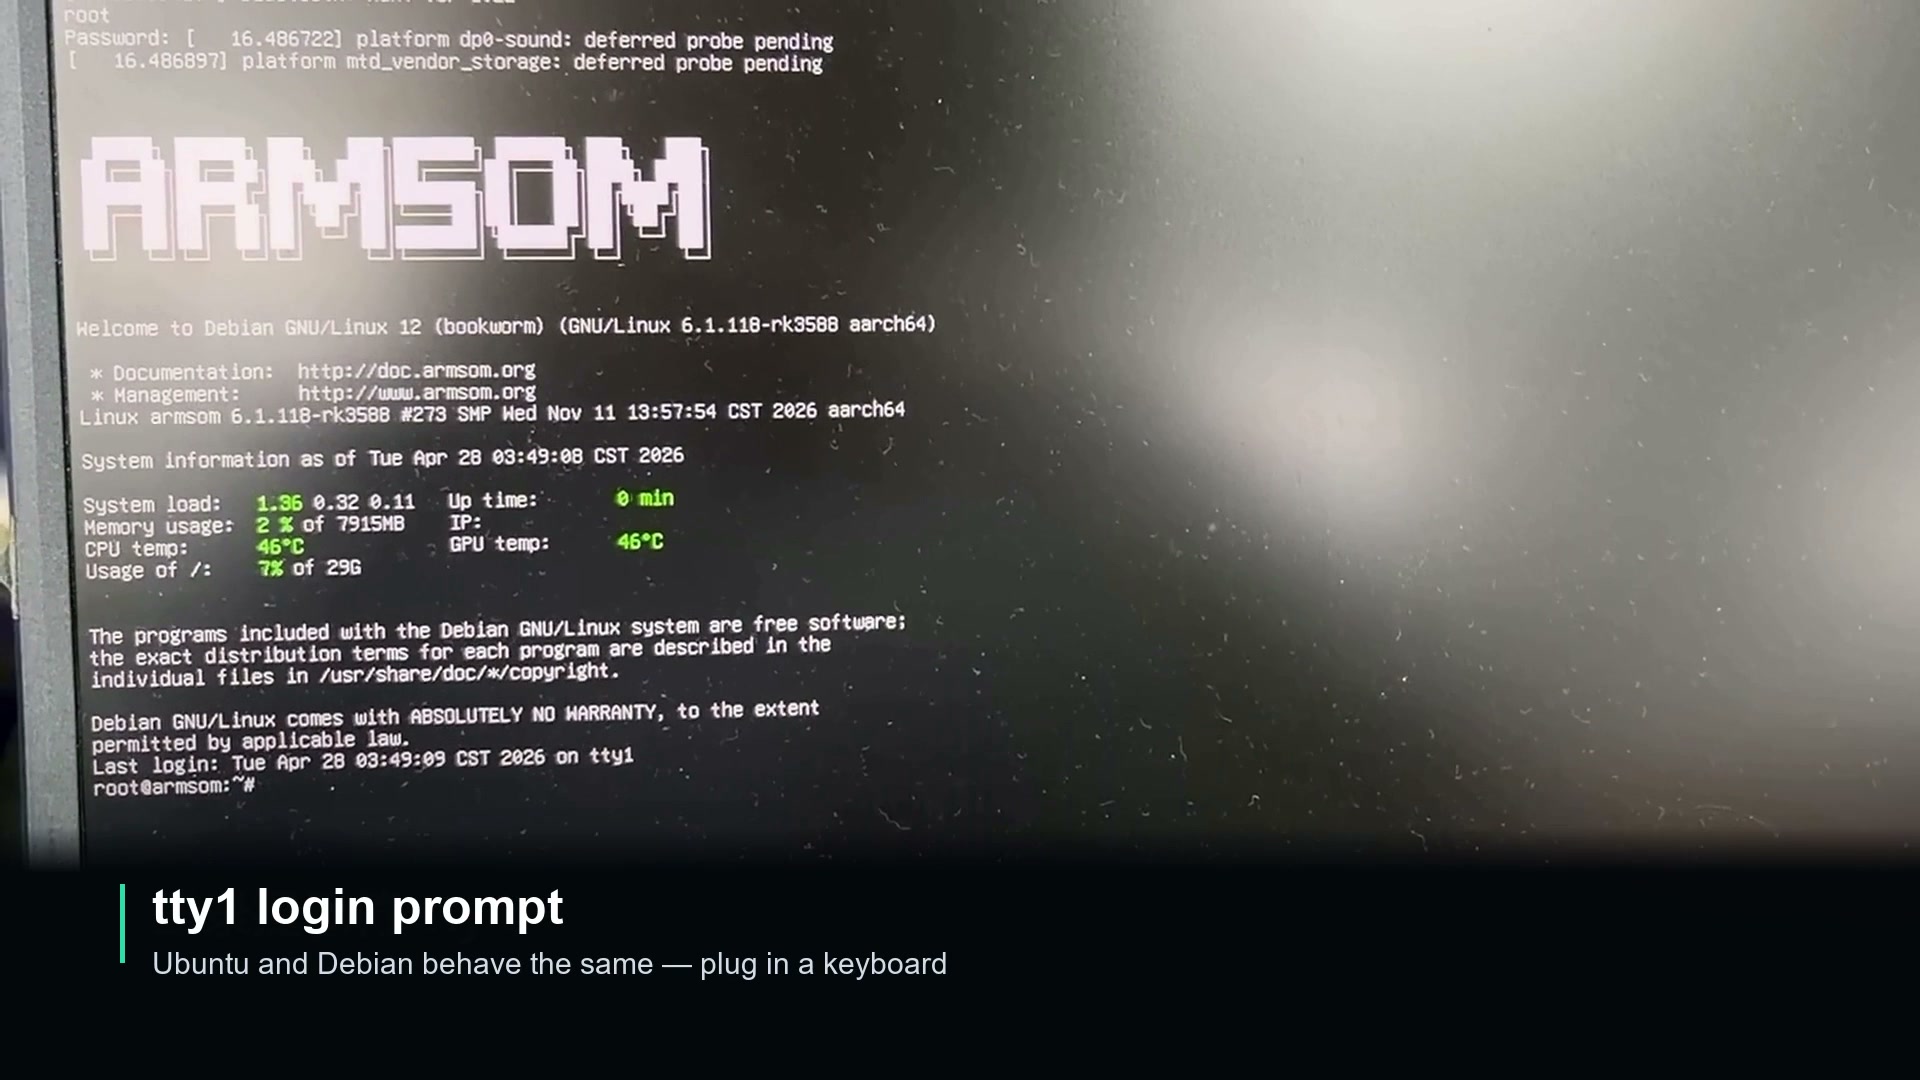
The Debian 12 example shows the ArmSoM banner, system information and a shell prompt after local login.
Get started before remote access is ready
A local TTY session does not depend on an SSH connection. It gives you an entry point when networking is not yet configured or when you need to investigate a connection problem at the device itself.
You can complete initial setup locally and then move to remote administration when the network is ready. A serial adapter is not needed for the local HDMI-and-keyboard workflow shown here.
Ubuntu Server and Debian 12
The feature materials cover Ubuntu Server and Debian 12 images with HDMI output and local tty1 interaction. Choose the image that matches your board and software requirements, and check the corresponding documentation for the supported version and login details.
A TTY is a text console for commands, service management and troubleshooting. Projects that need a graphical desktop should use an appropriate desktop image or environment. Availability of the local display workflow depends on the board, carrier interfaces and system image.
A practical workflow at the desk or on site
For a new board, connect a display to check boot progress and complete basic setup. For network troubleshooting, inspect the configuration from the local console. In a classroom or demonstration, show commands and their output on a larger screen. These are straightforward uses for a local terminal on an embedded system.
Prepare your board
Select the official Server image appropriate for your ArmSoM board.
Follow the board's flashing instructions, then connect an HDMI display and USB keyboard.
Use the recommended power supply and start the system.
Log in at the local console using the instructions for that image, then begin configuration.
Start with the ArmSoM product documentation for board-specific images and first-boot instructions. The display interface guide provides further HDMI guidance, and the download page links to ArmSoM resources.
For image selection or project questions, contact sales@armsom.org with your board model and system version.