

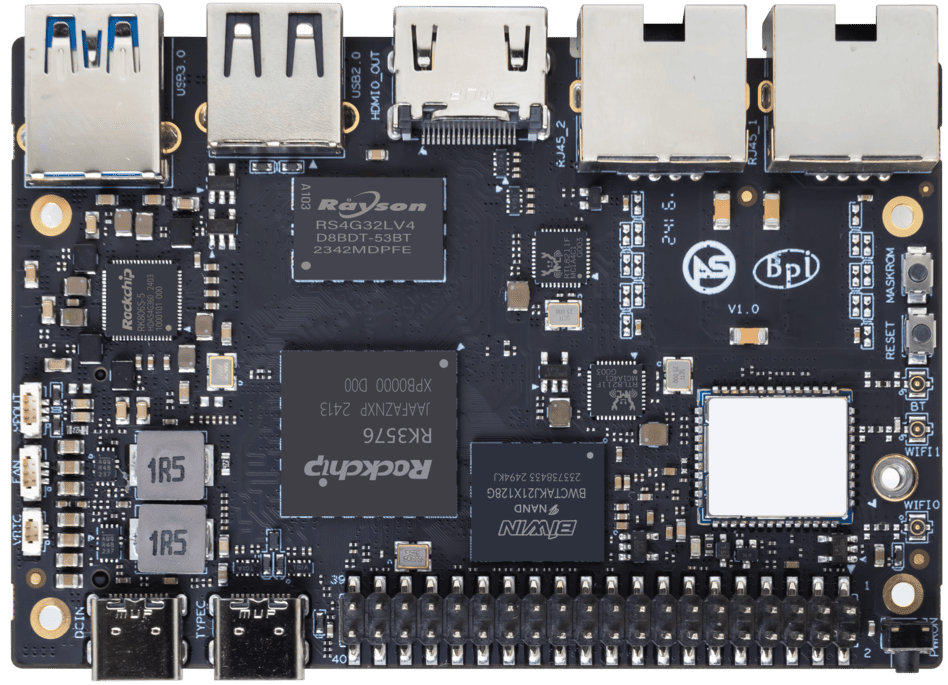
ArmSoM Sige5 product photograph.
An ONNX file is a portable description of a model, but deploying it through RKNN still requires a target platform, compatible operations and a matching input/output pipeline. Conversion success is one milestone; correct and useful inference on the device is the goal.
Use this workflow to separate graph problems, quantization problems and integration problems. Keep each intermediate result so a failure can be traced to the stage that introduced it.
1. Establish a correct ONNX baseline
Before running a target compiler, verify the exported model with a suitable ONNX runtime and representative inputs. Record its input names, shapes, data types and output tensors. Save expected results for a small regression set.
With the ONNX Python package installed, a basic structural check is:
import onnx

model = onnx.load("model.onnx")
onnx.checker.check_model(model)
for tensor in model.graph.input:
    print(tensor.name, tensor.type)
This checks the model representation; it does not prove RKNN support or application accuracy. If ONNX inference already differs from the training framework, resolve export and preprocessing before moving to the board.
2. Define the model contract
Write down what one input means: RGB or BGR, tensor layout, resize rule, padding, numeric range and normalization. Also describe the output: class order, coordinate system, activation assumptions and any postprocessing outside the graph.
Decide where each transformation happens. Applying normalization in both application code and conversion settings can silently produce incorrect values. Conversely, omitting a required transformation can leave the model running without meaningful predictions.
For image detection, preserve the original dimensions and resize information so boxes can be mapped back correctly. For non-image models, use the same discipline for feature scaling, sequence length and padding.
3. Convert for the actual target
Use a RKNN-Toolkit2 release that supports the target SoC, with its corresponding examples and compatibility documentation. Set the platform deliberately; do not rename a file produced for another platform and assume that makes it portable.
Start with the release's supported example closest to your model. Keep conversion logs and configuration alongside the exported artifact. If the workflow offers an appropriate non-quantized path, it can help separate conversion behavior from INT8 accuracy changes.
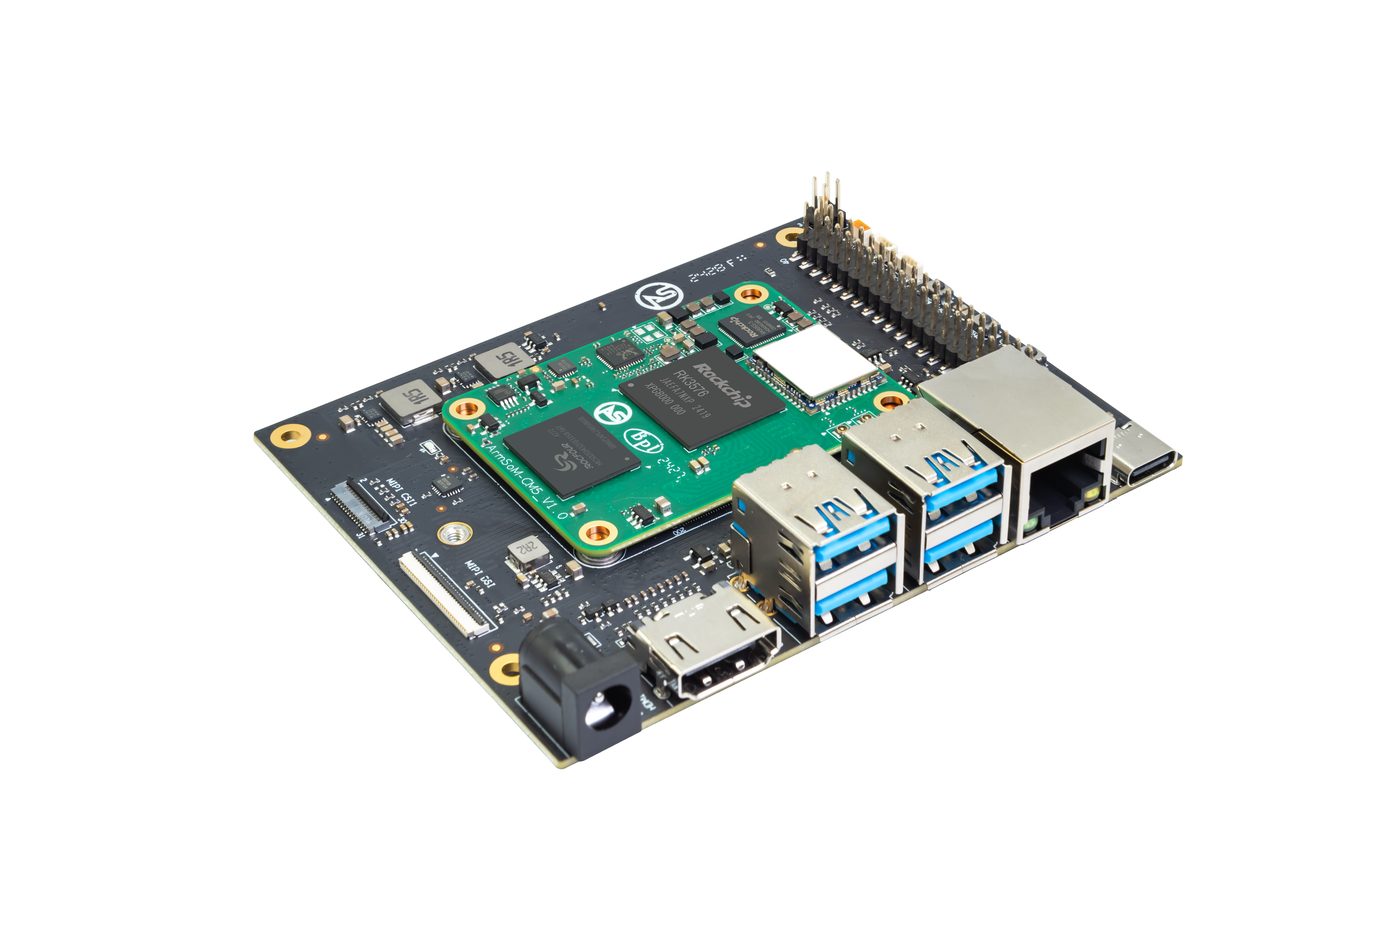
CM5 with the CM5 IO carrier board is one example of an RK3576 deployment target. Match the conversion target and runtime to the actual hardware; this photo is not a performance benchmark. Image: ArmSoM.
4. Calibrate with representative data
For quantization, choose data resembling deployment inputs: lighting, contrast, object scale, background and sensor processing. A convenient collection of unrelated images may not represent the ranges your application needs.
Separate calibration data from the evaluation set used to judge accuracy. Compare meaningful task metrics and inspect failure cases. A model can retain average performance while becoming unreliable on an important small-object or low-light subset.
If accuracy falls, check preprocessing first, then compare intermediate behavior using the tools available in your release. Consider targeted model changes or supported precision options only after locating the problem.
5. Diagnose by failure stage
Symptom | First checks |
Import or graph conversion fails | Operator support, export settings, shapes and converter version |
Conversion succeeds; device load fails | Target platform, runtime compatibility, driver and model integrity |
Outputs are wrong | Input layout, color order, normalization and output interpretation |
INT8 accuracy drops | Calibration coverage and comparison against the source baseline |
Application is slow | Copies, preprocessing, postprocessing and queueing outside inference |
Change one factor at a time. Randomly changing the opset, model size and runtime together may produce a working result while leaving the cause unknown, making the next update harder to support.
6. Release the model with its dependencies
Store a checksum, target, conversion configuration, tool versions and accuracy report with the RKNN file. Version labels and postprocessing code with it. Add a small regression test that runs after runtime or image updates.
The final acceptance check is the application on the intended board, processing representative inputs. For ArmSoM projects, include that model contract and the first failing stage when requesting technical support; it gives the team a reproducible starting point.